
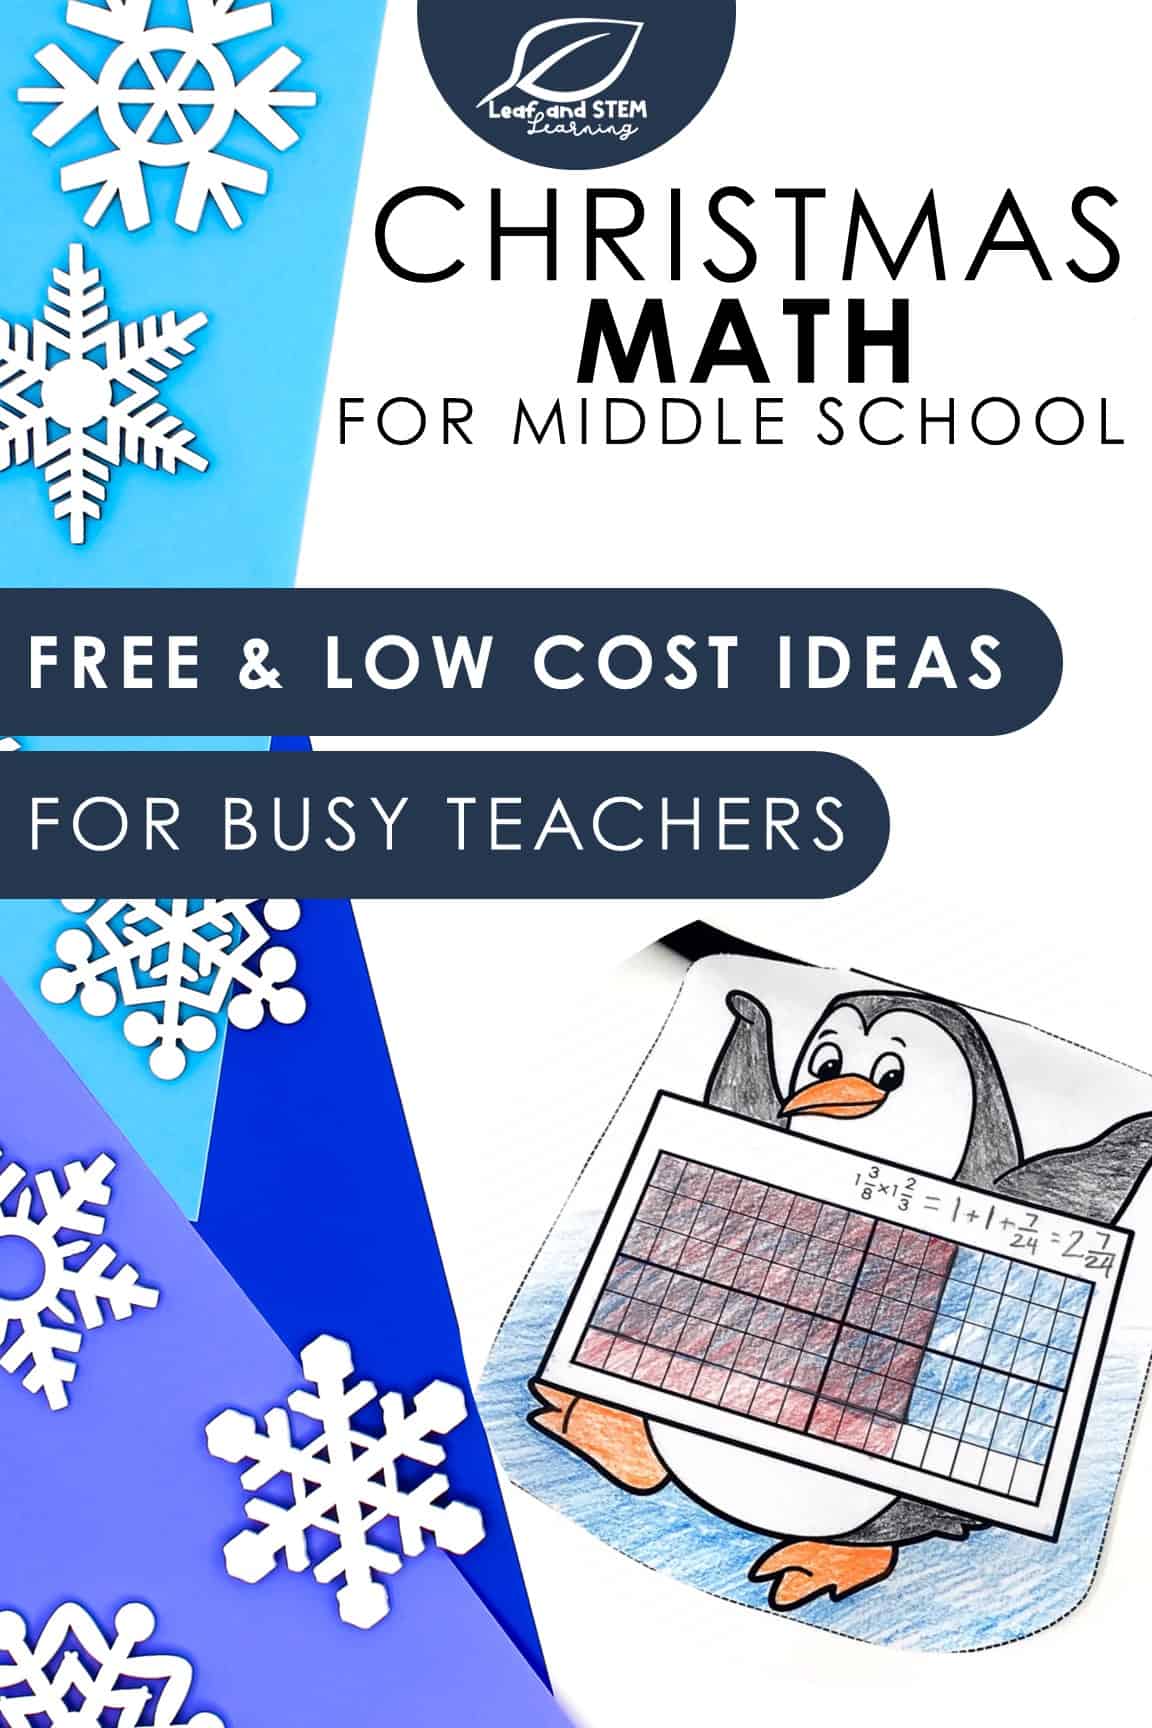
Interactive notebooks are a great way to have your students keep a record of everything studied in your class throughout the year, and a fun way to begin them is to personalize the covers!
It is a great activity for those first days of school when you want the students to be productive and structured, but easy enough to be low stress. Also students take so much more pride in their work when it is truly an expression of their personalities.
There are lots of ideas out there for ways to have the students decorate their notebooks, but this is my favorite that I have tried. It is very low cost and the product and process is easy enough for any student who has scissor skills but looks sleek and cool enough for a teenager.
Here is what you will need:
- Old magazines. It doesn’t matter if they are torn up, cut up, and even mostly used up by previous students who took all the “good” pictures. Of course, make sure they are school appropriate!
- Glue. Glue sticks will work best to keep it from getting globby, but any kind will do.
- A couple rolls of clear packing tape. The exact amount will depend on how many students you have.
- One or two pieces of cardstock. That’s one or two total not per student.
- Plastic sandwich bags. If your students will need more than one class period to complete this activity, you will want to have some baggies to keep their pieces neat.
You can see from this list, that you can possible get everything for free or from the school supply cabinet at school. The only thing you might have to buy yourself is the packing tape and baggies, but your school might have those, too!
 |
| An example of a notebook. The squares make a quilt or mosaic pattern that looks unique and fun! |
Before you Begin
Cut the cardstock into squares approximately 1-2 inches across. It doesn’t matter exactly what size the squares are, but it is important that they are squares.
Each student will need one square, a pencil, a pair of scissors, and some magazines or magazine pages to share. Make sure these materials will be available.
The Creative Process
The students use the square to trace. Basically they find an image in the magazine that they find interesting, but they are only allowed to cut a 1×1 square out of it. This solves the problem of one student getting to cut out the whole picture of the beautiful flowers or the awesome motorcycle, leaving nothing for the other kids. With this process, the students are looking for pieces they think look interesting. For example, one student can have 1×1 square with the motorcycle’s handle bars and another can have a square with the spokes and wheel. The students will find and cut out enough of these squares to cover the front of their notebook. Encourage the students to find a variety of images.
Once the students have enough squares to cover the notebook, they arrange them how they would like them and glue them to the cover in a tile type fashion. The end result looks like a mosaic.
Finishing it Up
Once the student has all the paper tiles glued on (and the glue is dry, especially if they used liquid glue instead of a glue stick) have the student place their notebook in the middle of their desk. Either you or the student can do the next step, depending on your students’ age and ability.
Take the clear packing tape, and literally tape the notebook to the desk. Tape it from top to bottom, vertically across the entire front of the notebook. Make sure to get a piece of tape over the right side, but don’t tape over the spiral if the student is using a spiral rather than a composition book.
Pull the notebook off of the table and fasten the tape pieces that extend beyond the edge by folding them under to the back of the front cover.
If you would rather, you can use clear shelf paper, “contact paper,” to secure the covers.
Write the student’s name on the cover or inside the cover with a permanent marker, just in case they lose it, but with a notebook that looks this good, they are a lot less likely to!

4 thoughts on “Personalizing Interactive Student Notebooks”
You have some great ideas! Thanks for sharing.
Sandra
Sandra's Savvy Teaching Tips
This is so creative! I'm pinning this to one of my pinterest boards!
Love the square mosaic idea for covering notebooks! Thanks for sharing. TeacherMsH
Another tip is to glue an envelope inside the cover to hold extra pieces.